The one-of-a-kind analog nature of Polaroid photography is part of what makes the medium so magical, but sometimes it’d be nice to share your latest selfie with your mom back home or post a picture up on your Facebook profile. We’re all about sharing moments here, and sometimes creating a digital copy of your instant photo is the best option – after all, email is a little bit faster than snail mail these days.
So, what’s the best way to scan your Polaroid pictures? Speed, photo quality and pesky reflections are all considerations. Here’s an overview of some of the most common methods Polaroid photographers use to make digital copies of their pictures, and the pros and cons of each method.
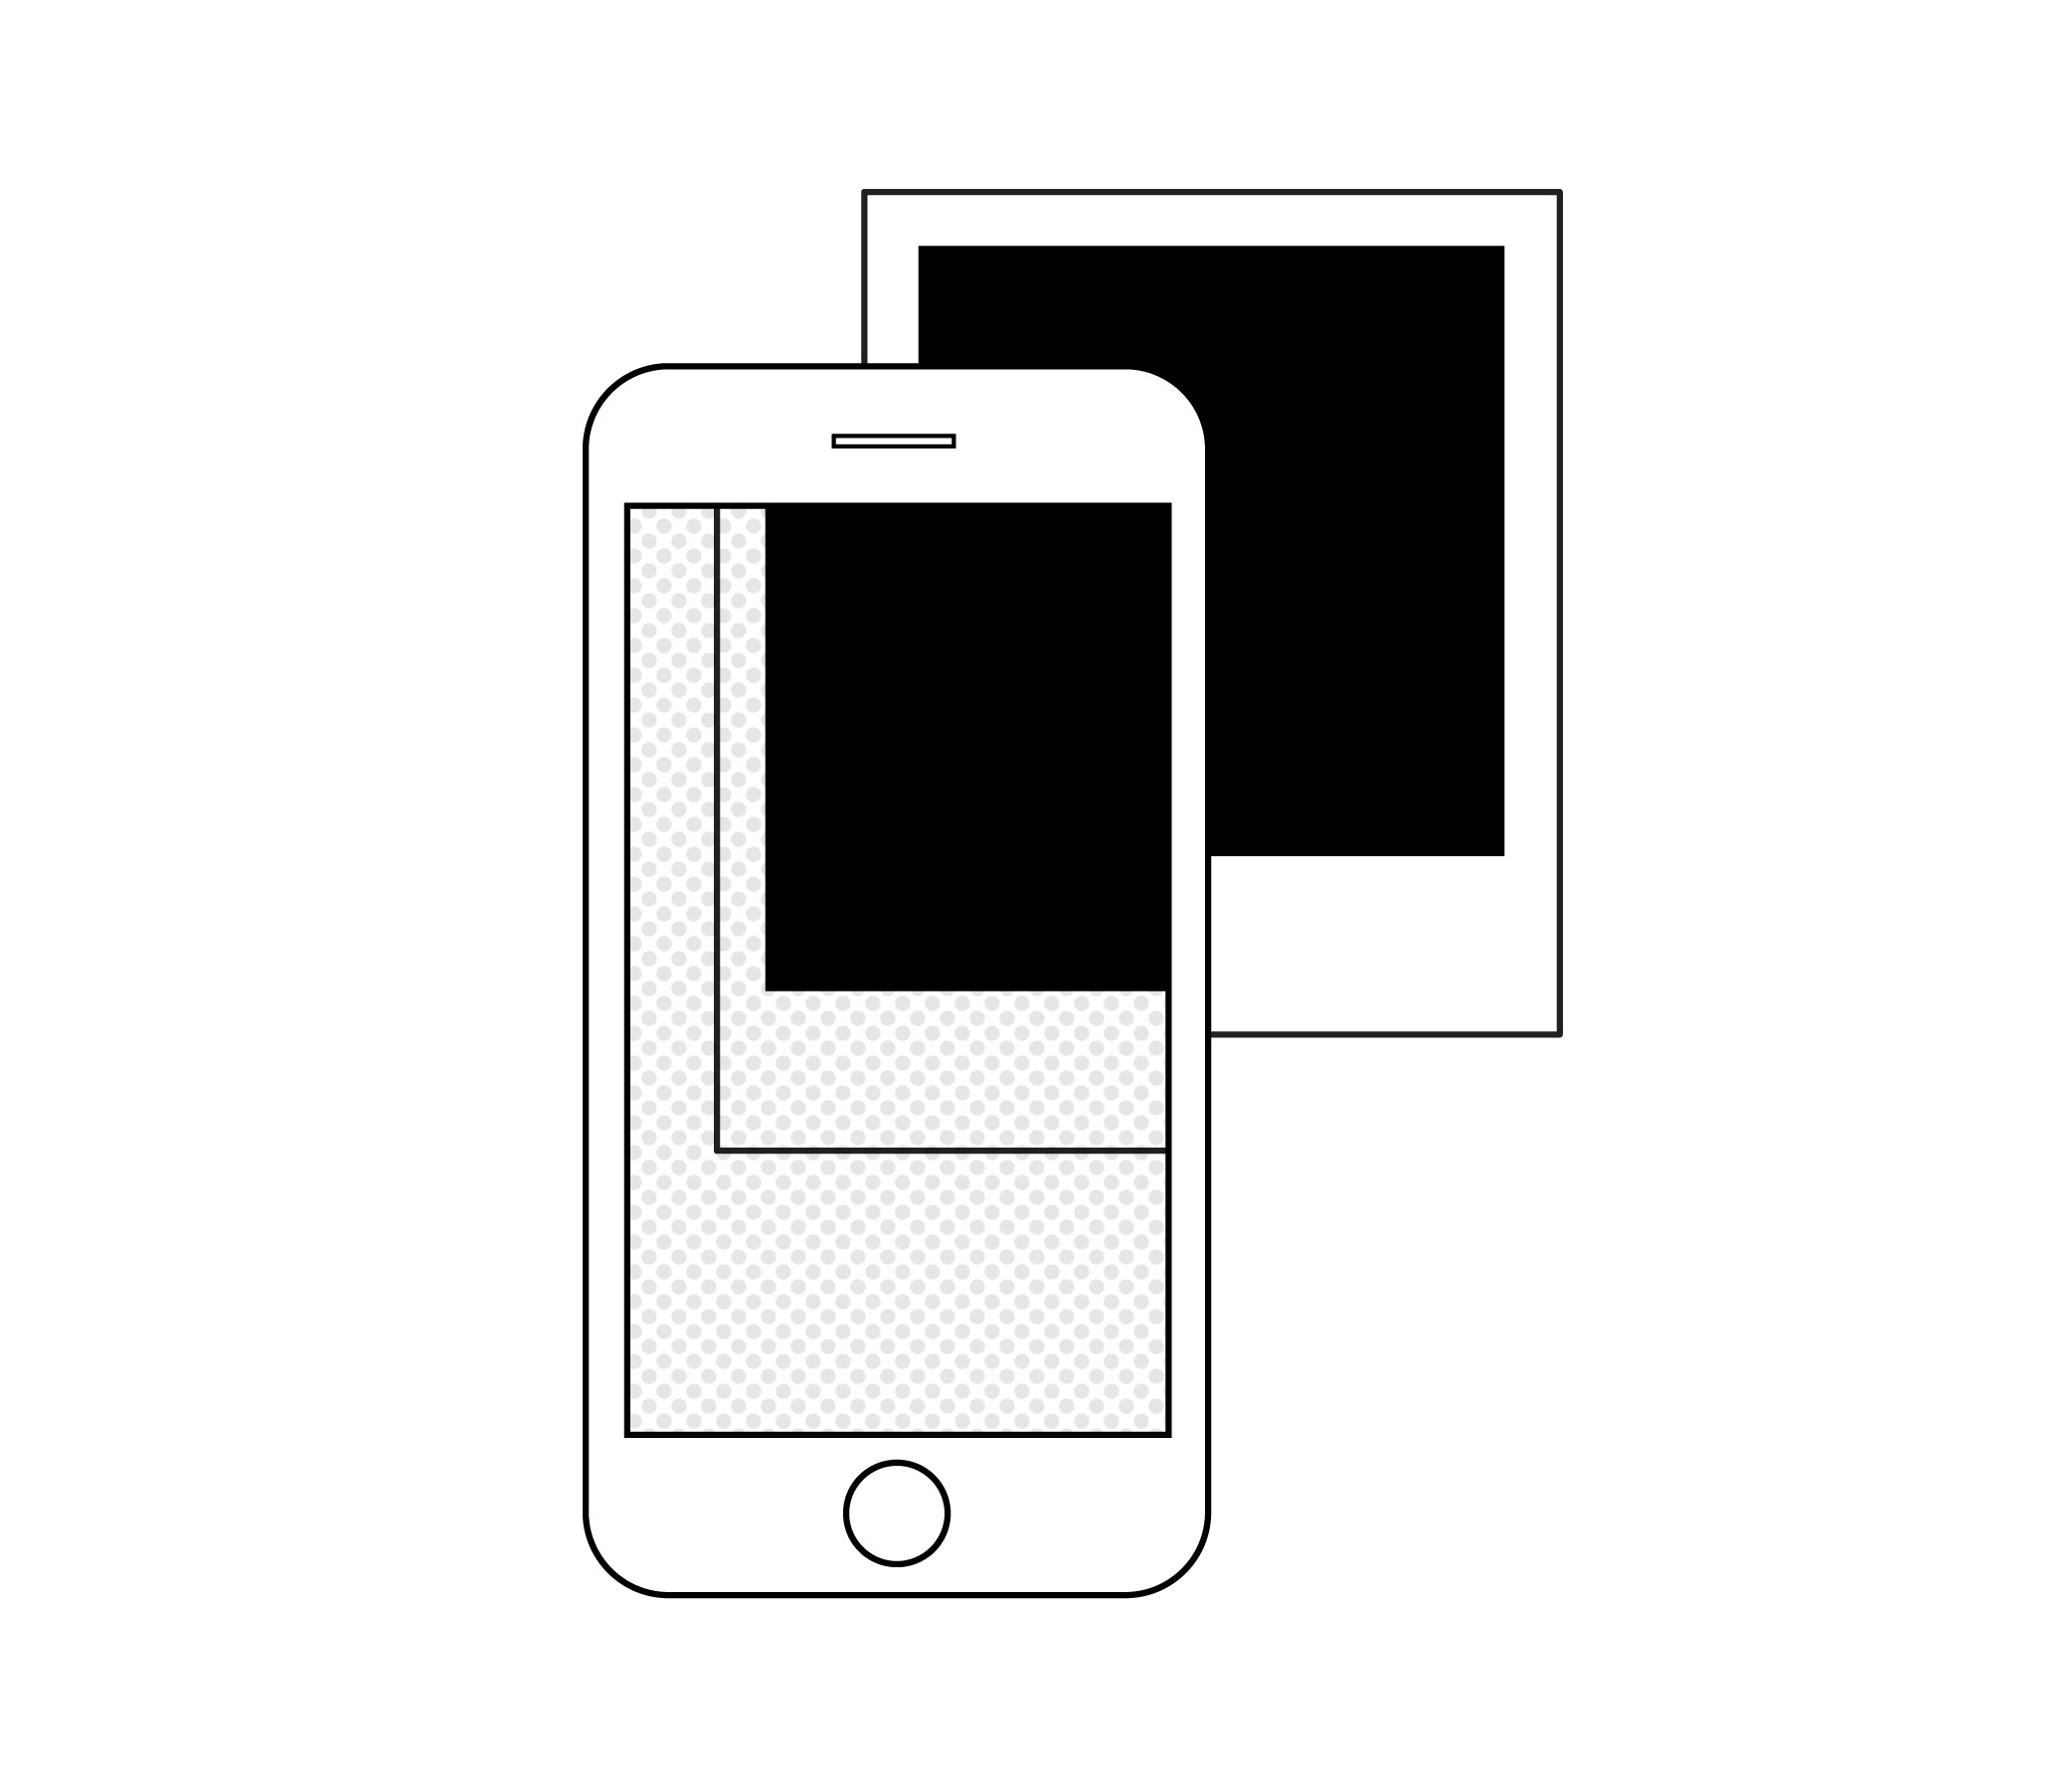
1. Smartphone & app-based scanning
Using your smartphone to take photos of your photos is the most convenient option and requires the least amount of specialized technology. While using your favorite camera app is a simple option, you’ll often end up with distracting reflections. Changing your camera angle might help, but then you can have perspective problems where the photo isn’t perfectly square. Annoying, right?
Dedicated photo scanning apps are a dime a dozen these days, but some stand out from the pack. We recommend our own Polaroid app which takes care of both reflections and perspective issues for you.
 |
|
2. Flatbed scanning
If getting the highest quality scans possible is your goal with the intention of archiving, sharing or printing, a flatbed scanner is hands-down the best option. The downside is that high-end models can cost a pretty penny, and the learning curve is a bit more involved. The actual scanning process is slow and, naturally, the scanner itself will take up some of your precious desk space.
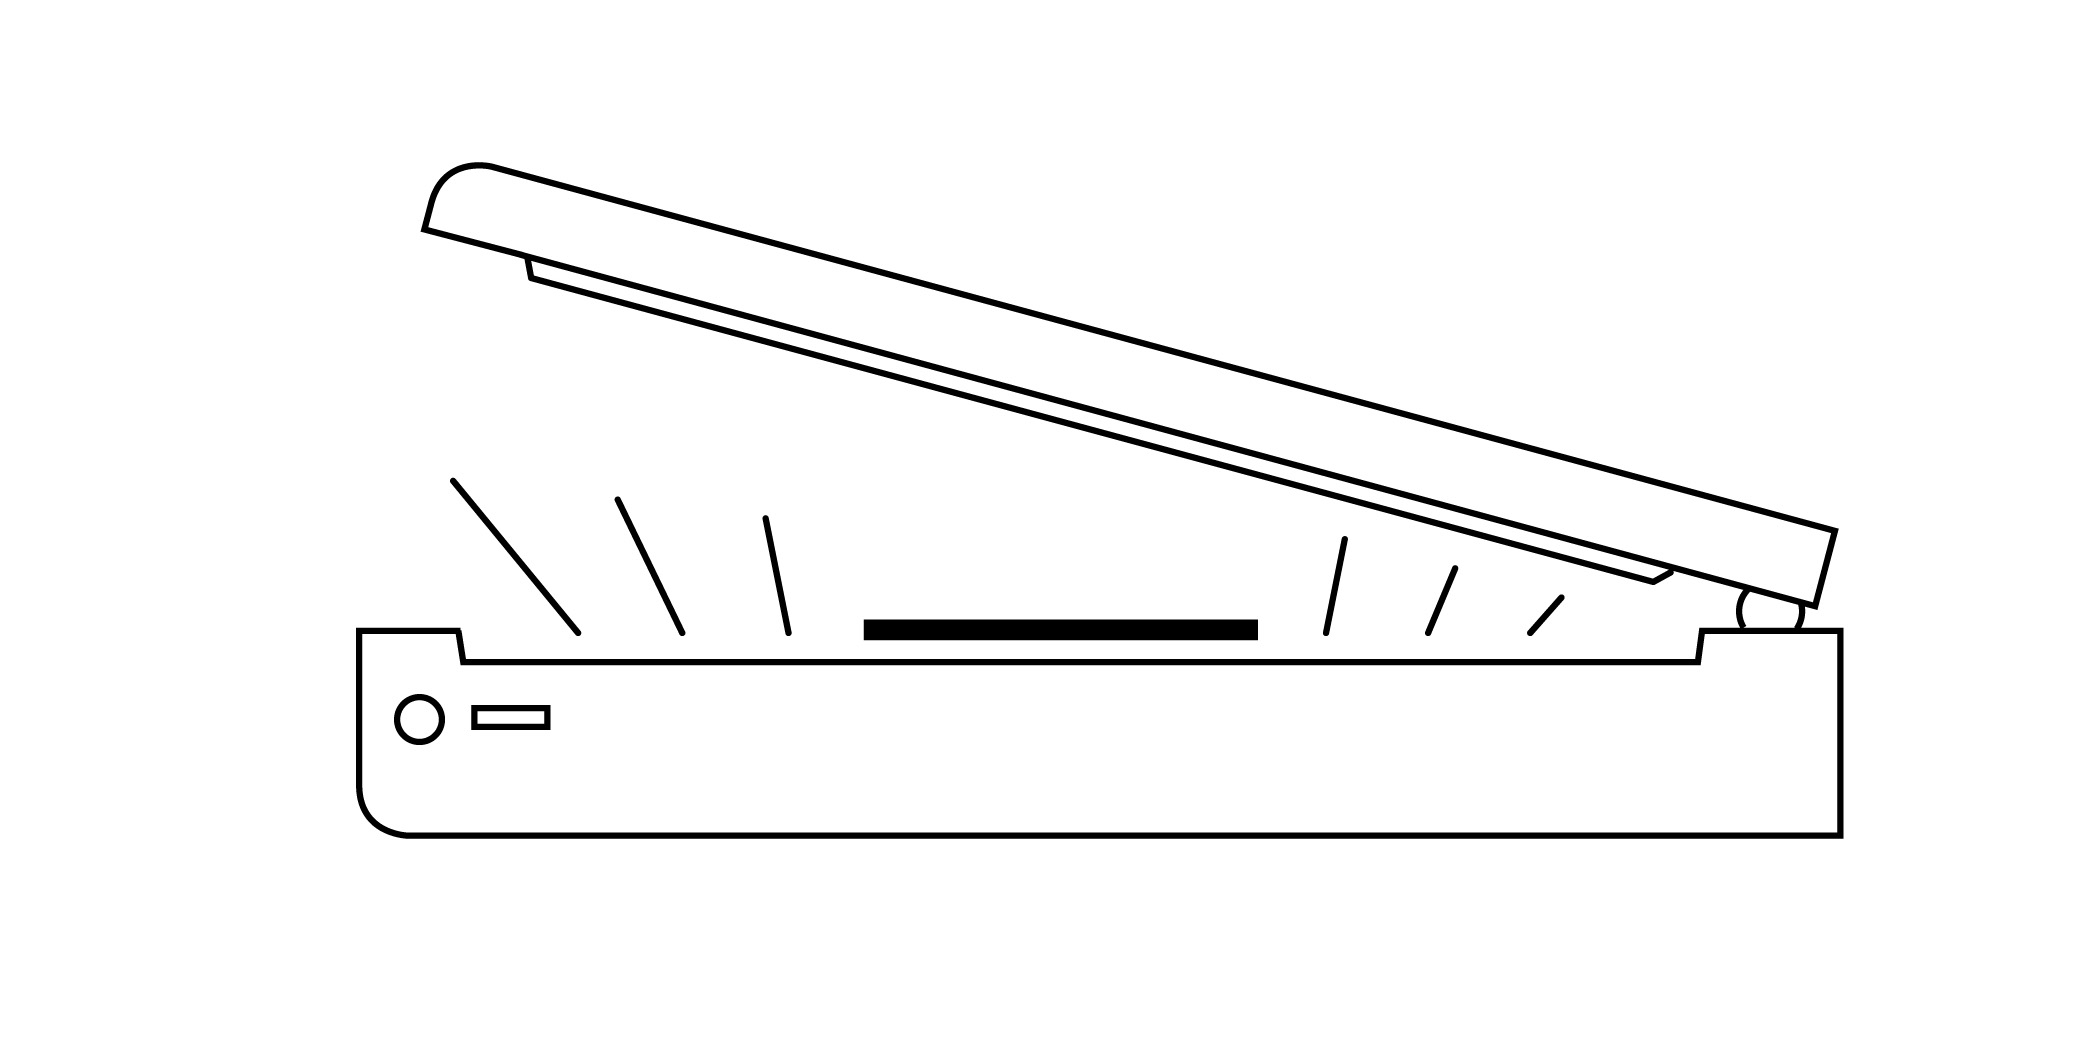
You’ll also likely want to buy (or make) a scanning adapter to get the best results from your scanner – for more information on why, read our article about Newton’s rings here.
But when it comes to getting the highest quality scans possible, flatbed scanners are an excellent option for aspiring enthusiasts and professional photographers alike.
3. Sheetfed scanning
Sheetfed scanners like the Doxie scanner are simple, portable scanning machines. You simply feed your photo into one end and it passes right through, and out the other side. With this method, you get a digital copy of your picture that’s high-quality, free from reflections and requires very little know-how. The downside is that sheetfed scanners aren’t the cheapest option out there, do not offer much in the way of customization and they can sometimes create issues with horizontal lines if you don’t feed your picture into the scanner perfectly straight.
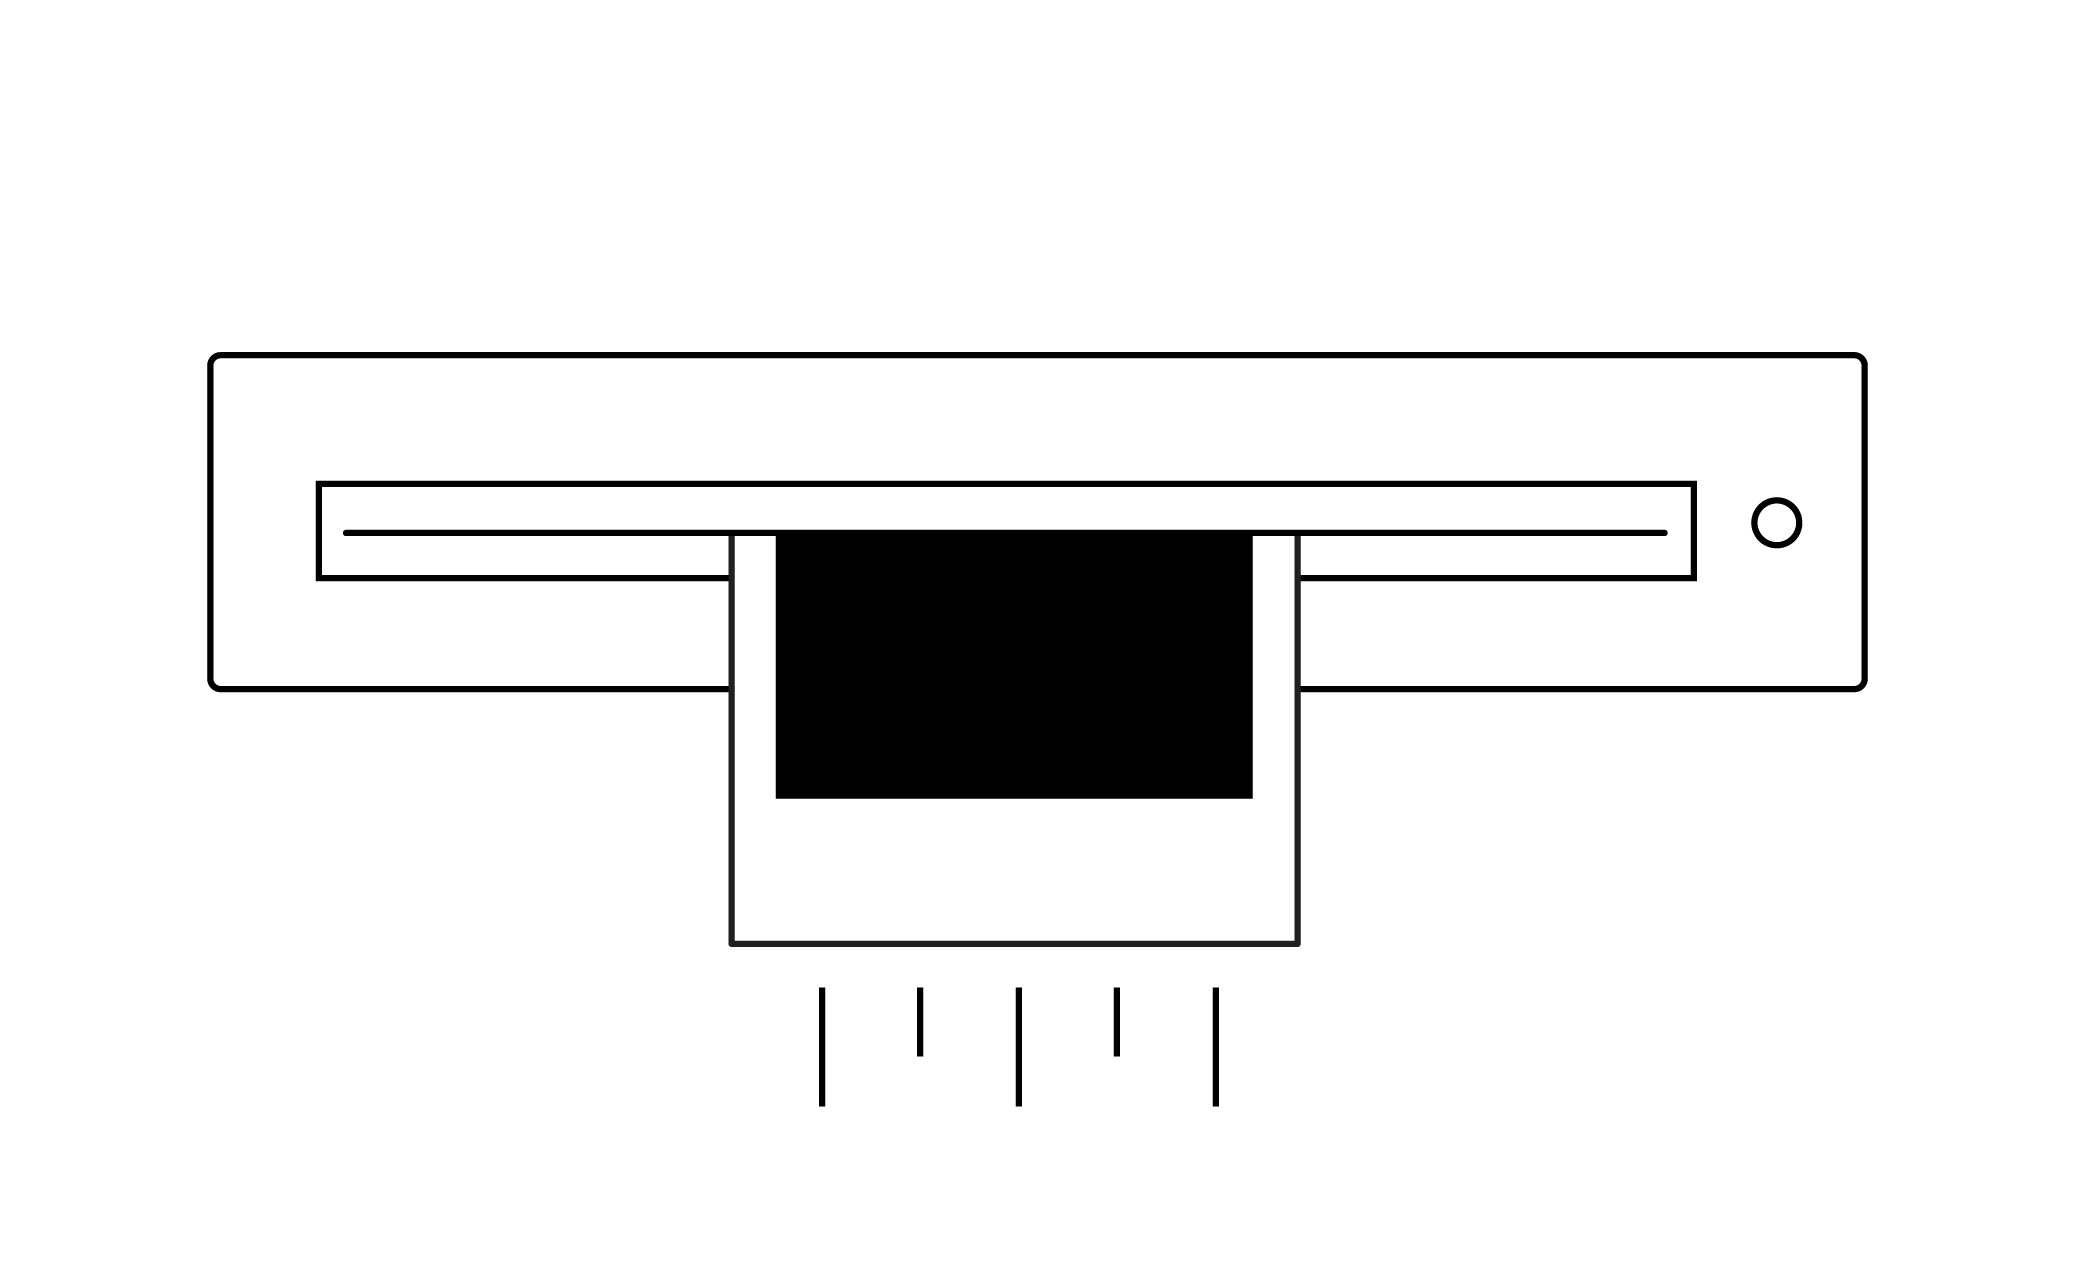
If you have a little bit of coin to spend on your scanning setup, but don’t want to go too far down the rabbit-hole, something like a sheetfed scanner might work for you as one of the quicker scanning options available.
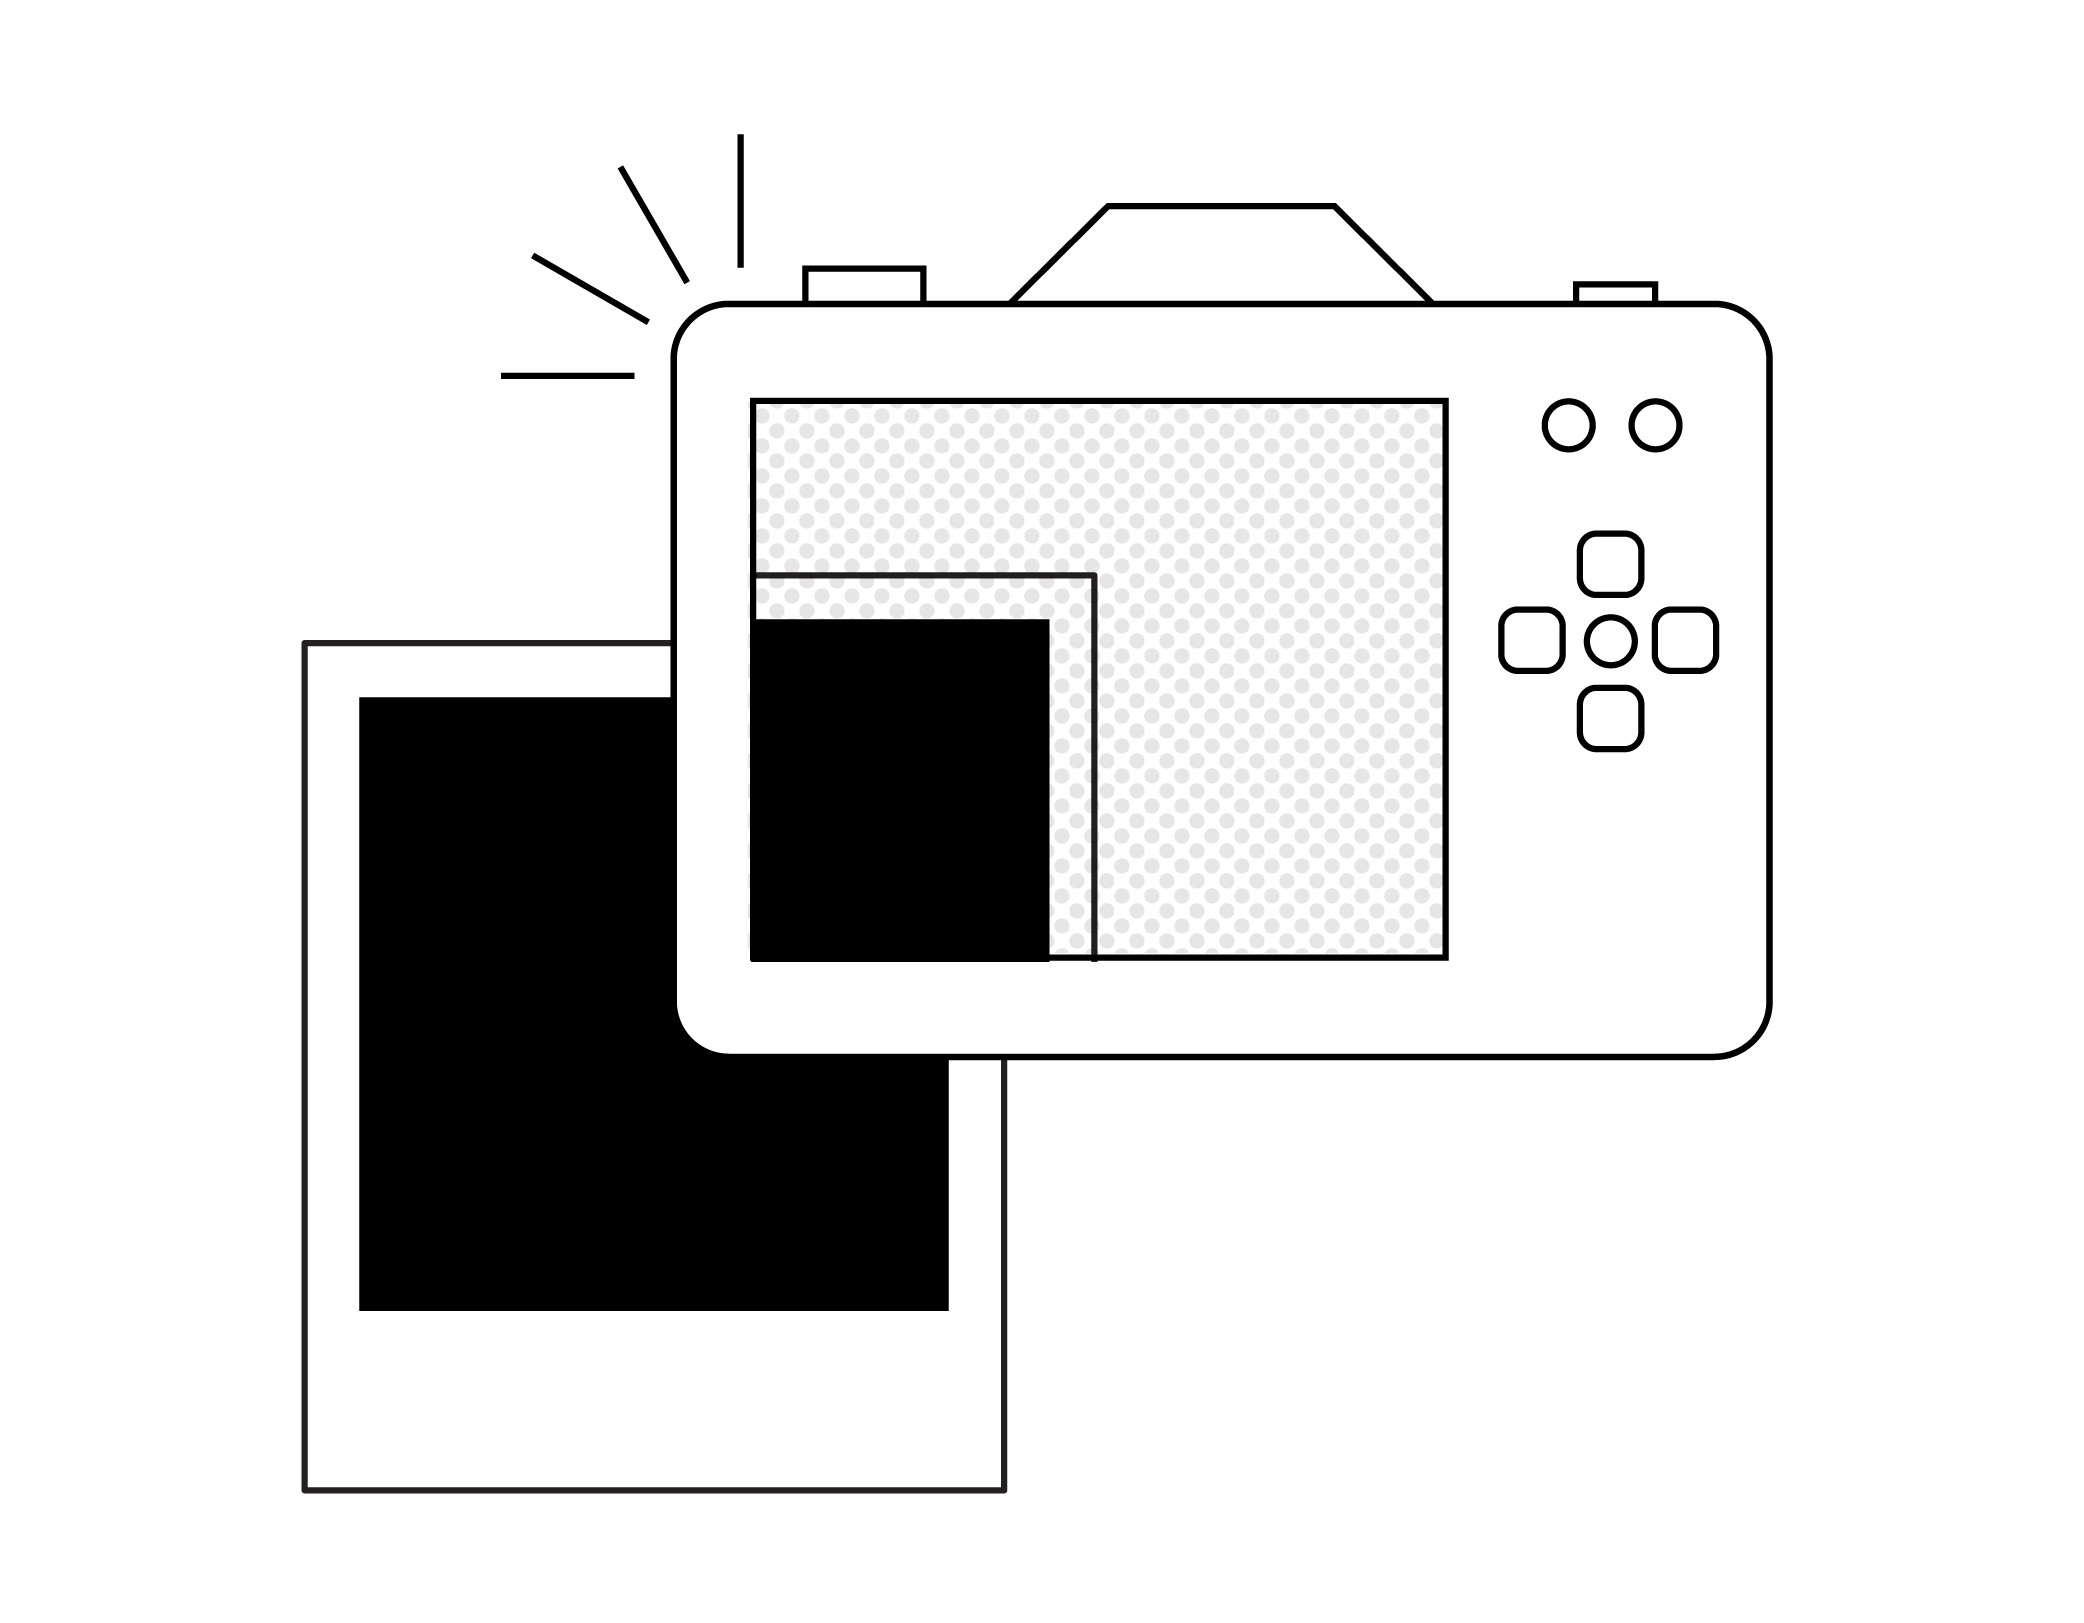
4. Digital camera ‘scanning’
Similar to using the camera app in your smartphone, using a higher resolution digital camera (like a DSLR) to make digital copies of your photos is a cheap and easy option, assuming you already have a digital camera somewhere. The downside is trying to eliminate glare while maintaining correct perspective. If you’ve got a 2-3 point studio lighting system available, this method can yield very high resolution results with a bit of playing around with the lighting angles. If not, look to create a very diffuse lighting environment (such as a room with many windows on a cloudy day), and always shoot with a tripod.
Wait a minute, is it possible to scan the negative directly?
Unfortunately, no.
Polaroid film negatives are completely integrated into the film itself. Even if you were to remove the negative using scissors and a little know-how, you’d discover that the negative is actually opaque and not translucent. As a result, light isn’t able to passed through like a traditional film negative, so scanning simply isn’t possible with Polaroid photo negatives.